Lesson 34
Translation made by MARION


Supplies.
Plugins
Plugins----<I C Net Software> Filters in Unlimited 2.0---Paper Texture
Color Palette
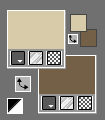
Set the forderground color to color #d8cba9---Set the background color to color #745f47
Take a few nice tubes
Material ZIP
The objective of this lesson is to ensure that it is enjoyable and engaging.
File---Open a new transparent image in this size : 700--- 600 ---Pixels

1.
Flood fill the layer with color # D8CBA9--- Light color
2.
Layers---New raster layer --- Flood fill the layer with color#745f47---Dark color
Effects---Plugins----<I C Net Software> Filters in Unlimited 2.0---Edges.Square ---Square Edge 17
( Or choose another border from this filter )

3.
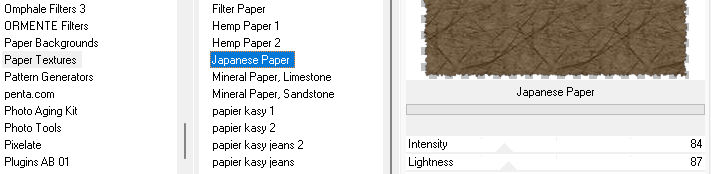
Effects---Plugins----<I C Net Software> Filters in Unlimited 2.0---Paper Texture---Japanese Paper---84-87
4.
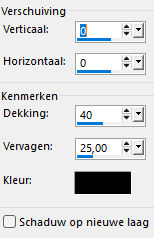
Effects---3D-Effects--- Drop Shadow ---0--0—40---25--- Color black.
5.
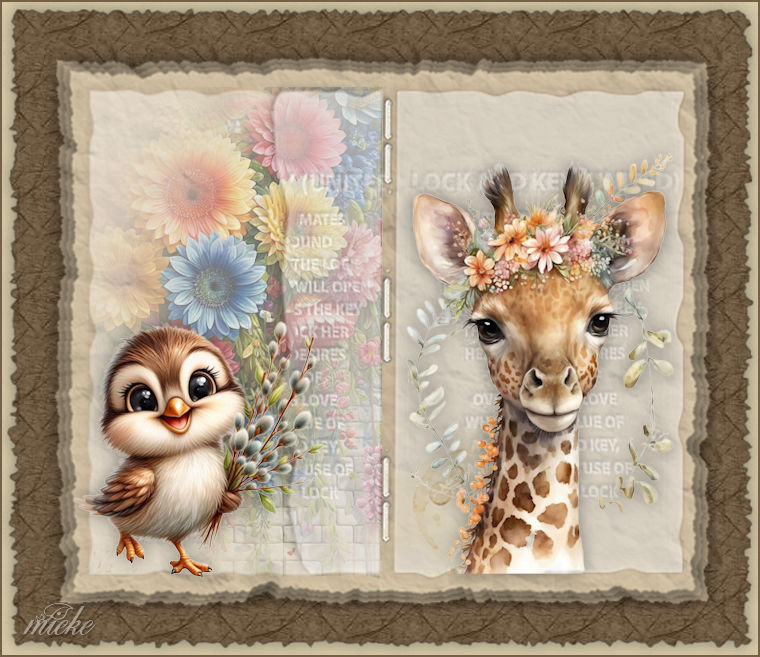
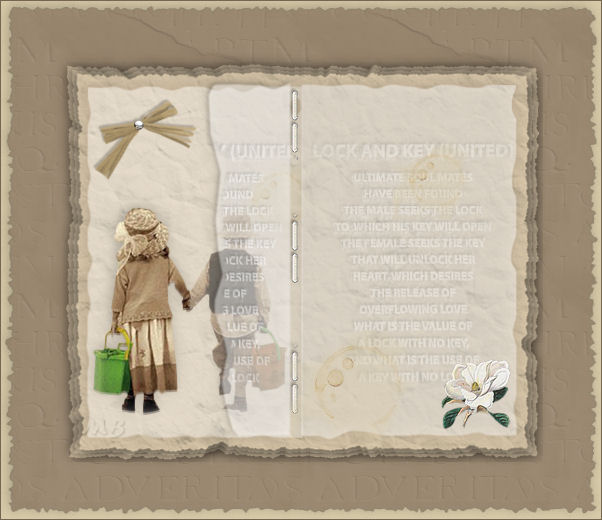
Open the image --- ag-34-2025.png
Edit--- Copy --- Activate your work --- Edit ---Paste as new layer.
6.
Objects---Align---Center in canvas
7.
Open the tube --- deco-1
Edit--- Copy --- Activate your work --- Edit ---Paste as new layer
Move the tube tot the left side
(See finished image)
8.
Open the tube --- 2025 01 17 Cat Dana J 9.png---
Edit--- Copy --- Activate your work --- Edit ---Paste as new layer
Image---Resize 80 %---Resize all layers not checked
Place a nice part of the tube on the left
Use the selection tool to draw around the part you want to use.
Selections---Invert---Delete on the keyboard.
Selections---Select none
Layers---Properties---Reduce the opacity of this layer to 45%
9.
Open the tube---deco-2
Edit--- Copy --- Activate your work --- Edit ---Paste as new layer
Move the tube to the right side
10.
Open the tube--- bg.ai_1717.png .
Edit--- Copy --- Activate your work --- Edit ---Paste as new layer
Put the tube in a nice place
Effects---3D-Effects--- Drop Shadow ---0--0—40---25--- Color black.
11.
Open the ---Tube--- bg.ai_150635.png
Edit--- Copy --- Activate your work --- Edit ---Paste as new layer
Image--Add border---2 pixels--- Dark color.
Add your watermark on a new layer
Save as JPG
Enjoy the lesson.
Greetings Mieke
Examples created by Kamalini and Hennie
Aanklikbaar voorbeeld gemaakt door Kamalini en Hennie
 

|
